Why You’ll Love Garlic Potato Pops
Garlic Potato Pops are the perfect combination of crispy, golden exteriors and soft, flavorful interiors. These bite-sized potato snacks are packed with garlic-infused goodness, making them an excellent choice for appetizers, side dishes, or even party snacks. Whether deep-fried, baked, or air-fried, they offer a satisfying crunch with every bite.
What makes these potato pops special is their versatility. They can be customized with different seasonings, coatings, and dipping sauces to suit any flavor preference. Let’s explore the essential ingredients and how to make these crispy garlic potato bites at home.
Table of Contents
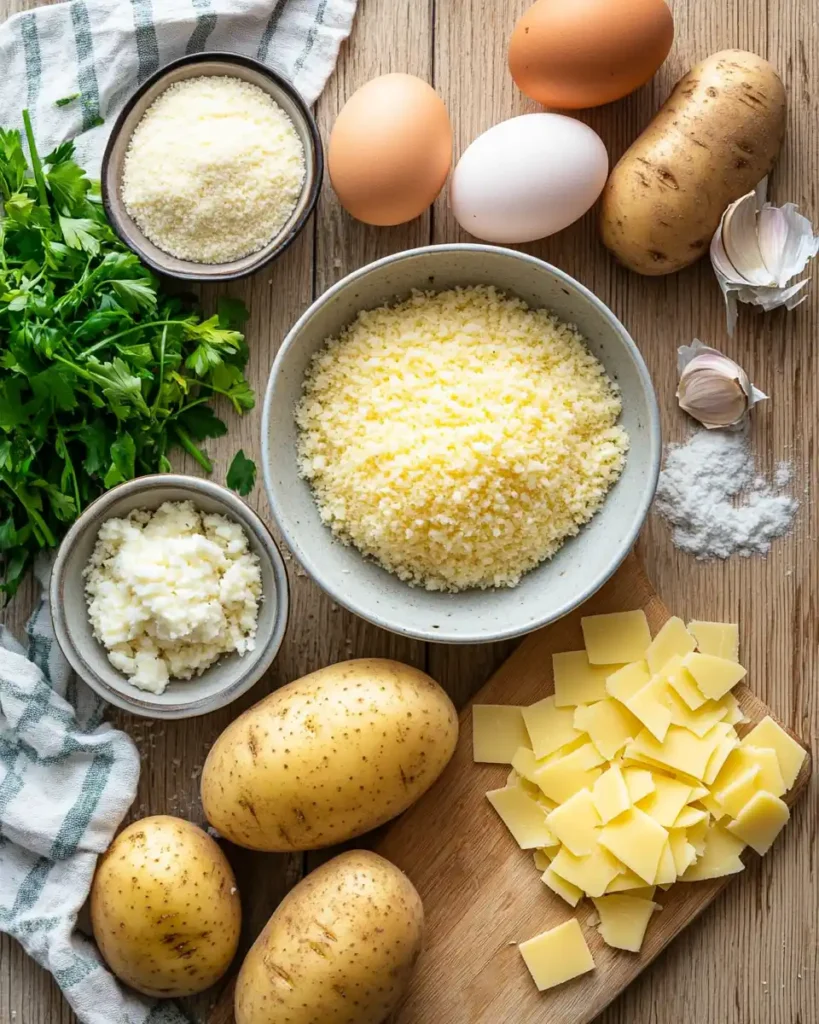
Essential Ingredients

To make the perfect Garlic Potato Pops, you’ll need a few simple ingredients that create the ideal balance of crispiness, flavor, and texture.
Main Ingredients
- Potatoes – Russet or Yukon Gold potatoes work best for their creamy texture when mashed.
- Garlic – Freshly minced garlic adds bold flavor, but garlic powder can be used for a milder taste.
- Cheese (Optional) – Parmesan or cheddar enhances the flavor and adds richness.
- Eggs – Helps bind the mixture and keeps the potato pops firm.
- Breadcrumbs – Creates a crispy coating; use panko for extra crunch.
- Seasonings – Salt, black pepper, and a pinch of paprika or Italian herbs for added depth.
- Oil (for Frying or Brushing) – Use a neutral oil like vegetable or canola for frying, or olive oil for baking.
(Note: the full ingredients list, including measurements, is provided in the recipe card directly below.)
Substitutions and Variations
- Gluten-Free – Use almond flour or gluten-free breadcrumbs.
- Dairy-Free – Skip the cheese or use a plant-based alternative.
- Spicy Version – Add chili flakes or cayenne pepper to the mixture.
- Extra Crispy Coating – Double-coat with an egg wash and more breadcrumbs.
Now that the ingredients are ready, let’s move on to the step-by-step guide for making crispy Garlic Potato Pops.
Step-by-Step Cooking Guide
Making Garlic Potato Pops is simple and requires just a few steps. Whether frying, baking, or air-frying, this method ensures a crispy outside and a soft, flavorful center.
Step 1: Preparing the Potatoes
- Peel and cut the potatoes into chunks.
- Boil in salted water for 15–20 minutes until fork-tender.
- Drain well and mash until smooth, ensuring no lumps remain.
- Mix in garlic, cheese, salt, pepper, and any additional seasonings.
Step 2: Shaping the Pops
- Once the mashed potatoes have cooled slightly, mix in the beaten egg to help bind the mixture.
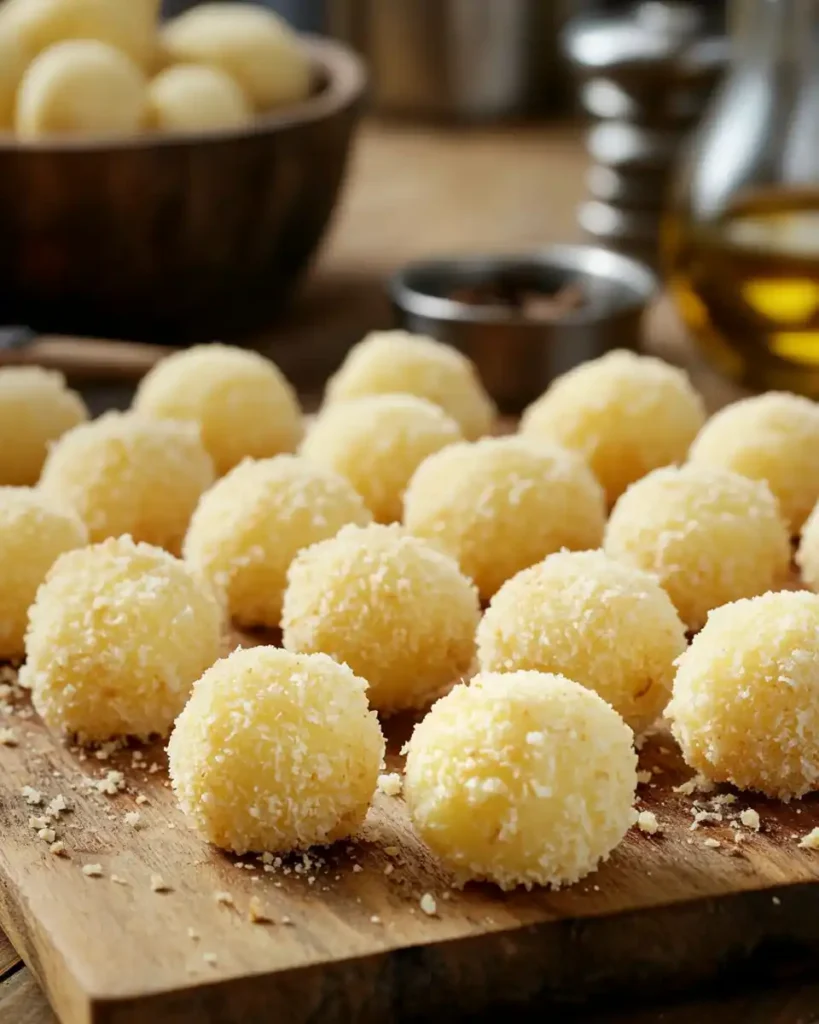
- Scoop out small portions and roll them into bite-sized balls.
- If the mixture is too soft, refrigerate for 15–20 minutes to firm up.
Step 3: Coating for Crunch

- Roll each potato ball in breadcrumbs, pressing gently to coat evenly.
- For extra crispiness, dip in an egg wash before rolling in breadcrumbs a second time.
Step 4: Cooking Methods
Deep Frying (Crispiest Option)
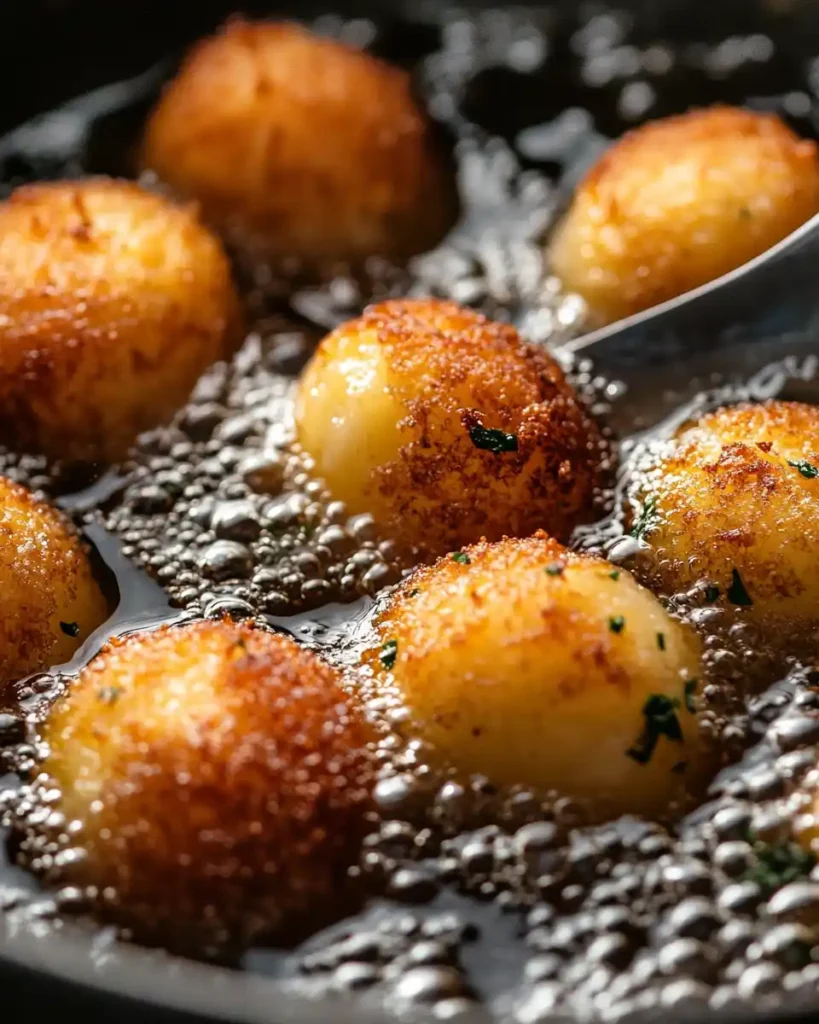
- Heat oil to 350°F (175°C) in a deep pan.
- Fry the potato pops in batches until golden brown, about 2–3 minutes per batch.
- Drain on a paper towel to remove excess oil.

Air Frying (Healthier Alternative)
- Preheat the air fryer to 375°F (190°C).
- Lightly spray the potato pops with oil.
- Air fry for 10–12 minutes, shaking the basket halfway through for even cooking.
Baking (Least Oil, Still Delicious)
- Preheat the oven to 400°F (200°C).
- Arrange the potato pops on a parchment-lined baking sheet.
- Lightly brush with oil and bake for 20–25 minutes, flipping halfway through.
Once golden and crispy, remove the Garlic Potato Pops from the heat and get ready to serve them with your favorite dips.
Serving & Dipping Sauce Ideas
Garlic Potato Pops are best enjoyed fresh and crispy, paired with flavorful dips that complement their garlicky goodness. Whether served as an appetizer, snack, or side dish, here are some creative ways to elevate the experience.
Best Ways to Serve
- As an Appetizer – Arrange on a platter with multiple dipping sauces for a party-friendly snack.
- As a Side Dish – Serve alongside burgers, grilled meats, or roasted vegetables.
- In a Snack Bowl – Enjoy as a crispy treat with a sprinkle of Parmesan and fresh herbs.

Dipping Sauce Ideas
- Garlic Aioli – A creamy, garlicky sauce that enhances the flavor of the potato pops.
- Spicy Mayo – A blend of mayonnaise and sriracha for a spicy kick.
- Marinara Sauce – A classic tomato-based dip for an Italian-inspired touch.
- Ranch Dressing – A cooling, herby dip that pairs well with crispy bites.
- Cheese Sauce – Melted cheddar or nacho cheese for extra indulgence.
To add even more flavor, sprinkle the potato pops with fresh parsley, grated Parmesan, or a pinch of smoked paprika before serving.
Make-Ahead, Storage & Reheating Tips
Garlic Potato Pops can be made ahead, stored, and reheated while maintaining their crispiness and flavor. Follow these tips for the best results.
Make-Ahead Instructions
- Prepare in Advance: Shape and coat the potato pops, then place them on a baking sheet lined with parchment paper.
- Refrigerate: Store in the fridge for up to 24 hours before cooking.
- Freeze for Later: Arrange uncooked potato pops in a single layer on a tray, freeze for an hour, then transfer to a freezer-safe bag. They can be stored for up to 3 months.
Storage Tips for Leftovers
- Refrigerate: Keep cooked potato pops in an airtight container for 3–4 days.
- Freeze: Place cooled potato pops in a sealed container and freeze for up to a month.
For best practices on storing cooked potatoes safely, refer to the FDA’s official food storage guidelines.
Best Reheating Methods
- Air Fryer: Reheat at 375°F (190°C) for 5–7 minutes to restore crispiness.
- Oven: Bake at 400°F (200°C) for 10 minutes, flipping halfway through.
- Stovetop: Reheat in a dry pan over medium heat until warmed through.
- Microwave (Least Crispy Option): Heat for 30–60 seconds, though the texture may soften.
Frequently Asked Questions (FAQs)
Can I make Garlic Potato Pops without eggs?
Yes, you can replace eggs with a flaxseed egg (1 tablespoon ground flaxseed + 3 tablespoons water) or skip the egg if the mixture holds together well.
How do I keep the potato pops from falling apart?
Ensure the potatoes are well-drained before mashing and chill the mixture for 15–20 minutes before shaping. Adding a bit of flour or cornstarch can also help with binding.
What’s the best type of potato to use?
Starchy potatoes like Russet or Yukon Gold work best as they mash smoothly and hold their shape well. Avoid waxy potatoes, as they can become too dense.
Can I bake instead of frying?
Yes! Baking at 400°F (200°C) for 20–25 minutes with a light coating of oil will still give you a crispy texture, though frying provides the best crunch.
Can I add other flavors to the mixture?
Absolutely! Try adding chopped herbs, grated cheese, smoked paprika, or even crumbled bacon for extra flavor.
Are Garlic Potato Pops gluten-free?
Yes, simply use gluten-free breadcrumbs or coat them in almond flour for a crunchy, gluten-free alternative.
Conclusion
Garlic Potato Pops are the perfect balance of crispy, golden exteriors and soft, flavorful interiors, making them a crowd-pleasing snack or side dish. Whether deep-fried, baked, or air-fried, they deliver bold garlic-infused flavor and satisfying crunch with every bite.
This versatile recipe allows for customizations with different seasonings, coatings, and dipping sauces, making it easy to adjust for dietary preferences. Plus, with make-ahead and storage options, you can prepare them in advance for quick, delicious snacks anytime.
Try Garlic Potato Pops today and enjoy a crispy, flavorful treat that’s perfect for any occasion!
Print
Garlic Potato Pops: The Secret to Perfectly Crispy Snacks
- Total Time: 40 minutes
- Yield: 4 servings 1x
- Diet: Vegetarian
Description
Crispy on the outside, soft and flavorful on the inside, Garlic Potato Pops are the perfect bite-sized snack or appetizer. Packed with garlic-infused goodness, they can be deep-fried, baked, or air-fried for a crunchy and satisfying treat.
Ingredients
Main Ingredients:
- 3 large Russet or Yukon Gold potatoes, peeled and cubed
- 3 cloves garlic, minced (or 1 tsp garlic powder)
- ½ cup shredded Parmesan or cheddar cheese (optional)
- 1 egg, beaten
- ½ cup breadcrumbs (panko for extra crunch)
- ½ tsp salt
- ¼ tsp black pepper
- ¼ tsp paprika (optional)
- Oil for frying or brushing
Instructions
Prepare the Potatoes:
- Boil potatoes in salted water for 15–20 min until fork-tender.
- Drain well and mash until smooth. Stir in garlic, cheese, salt, and pepper
Shape the Potato Pops:
- Once cooled, mix in the beaten egg.
- Scoop small portions and roll into balls. Refrigerate for 15–20 min if too soft.
Coat for Crunch:
Roll each ball in breadcrumbs. For extra crispiness, dip in egg wash and coat again.
Cook to Perfection:
- Deep Frying: Heat oil to 350°F (175°C), fry until golden (2–3 min per batch).
- Air Frying: Preheat to 375°F (190°C), spray with oil, and air-fry for 10–12 min.
- Baking: Preheat oven to 400°F (200°C), brush with oil, and bake for 20–25 min, flipping halfway.
- Prep Time: 25 minutes
- Cook Time: 15 minutes
- Method: Frying, Baking, Air Frying
- Cuisine: American
Keywords: Garlic potato pops, crispy potato bites, fried potato snacks, air fryer potato bites, cheesy potato balls


